Want the perfect burn?
Share
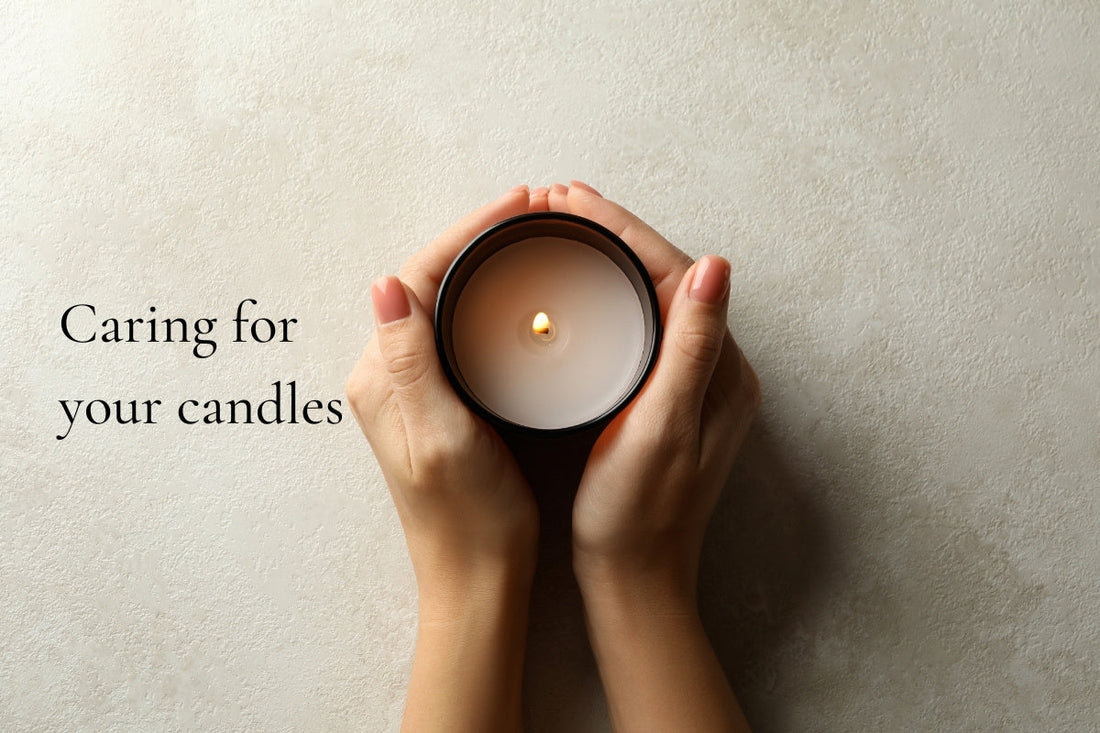
Now that you’re part of our little tryst, we want to make sure you’re the kind of candle partner who knows what they’re doing. A little care goes a long way and it ensures you get the most from every burn.
Light it up!
Our candles aren’t meant to just sit pretty on a shelf—they’re meant to buuuurn. An unlit candle might look nice, but it doesn’t feel like anything. Once you light it, though? Instant warmth. Instant mood.
A lit candle adds a lived-in glow that makes your space feel more welcoming, relaxing, and just a little more you. So strike that match and let it burn.
Hot tip: A burned candle is a happy candle. Don’t save it for a special occasion.
The first burn is a slow burn
Did you know natural wax has a memory? That means your candle will remember how far it melted the last time you lit it. If the melt pool doesn’t reach the edges, it may tunnel later on. That’s not just a waste of wax…it’s a complete turn off.
To set your candle up for success, let your first burn melt all the way to the edges of the vessel. For most of our candles, that means burning for a full 4 hours the first time, but it can vary slightly based on the size.
Hot tip: Burn your candle long enough the first time so that it melts edge-to-edge. This will set the mood for every future burn.
Trim that wick
To maintain a clean, steady flame and ensure your candle lasts longer, you need to trim the wick before your next burn. The ideal length is about 1/4”. Anything longer can lead to soot, smoke, and a flame that’s a little too wild.
If your wick looks frayed or has a carbon cap (those not-so-cute mushroom tops), give it a quick snip before lighting. Some of our wicks are self-trimming, so if it’s already under 1/4”, you’re good to light.
Use a proper wick trimmer if you’re feeling fancy, but scissors work just fine (in a pinch, I’ve even been known to pull out the nail clippers).
Hot tip: A neatly trimmed wick keeps the burn clean and the flame cute.
That’s the spot
Choosing where to burn your candle isn’t just about the vibes (though, obviously, that matters). It’s also about safety and performance.
Avoid placing your candle near vents, fans, or open windows—air currents can cause the flame to flicker and burn unevenly, or even smoke. Always set your candle on a heat-safe, level surface and keep it far anything flammable (like your beautiful curtains, cozy blankets, or stacks of mail you’ve been meaning to deal with).
At my house, I also keep candles out of reach of Lily (my sweet, very curious doberman) who could knock one over mid-zoomie. You know your space best, but a little thought goes a long way.
Some of my favorite safe-burn spots: nightstand, kitchen counter, bathroom vanity, office desk, or a shelf in the living room.
Hot tip: Drafts = Drama. If your flame’s dancing like it’s at da club, it’s probably in the wrong spot.
When to say goodbye
Like any good tryst, you want to leave things on a high note. Don’t burn your candle for more than 4 hours at a time. It needs a little rest to keep performing at its best.
And when there’s only about 1/2” of wax left? It’s time to part ways. Trust me: going past that can overheat the jar.
Hot tip: Quit while you’re ahead. Your candle will thank you for it.
Bonus: What to do in the afterglow
First things first—order another candle, obviously. But let’s talk about that beautiful empty jar. As a candle maker, I’m just going to pour another one. Nothing goes to waste around here.
What? You’re not a candle maker? No worries. Depending on the vessel, there are plenty of ways to give it a second life. Here are a few of my favorites:
- Recycle it (if your local rules allow)
- Use it as a planter or vase
- Store pens, makeup brushes, or cotton rounds
- Pop in some wax melts and place it under a candle warmer
- Just admire it—it’s still cute
Hot tip: To clean your jar, freeze it for a few hours and pop out the leftover wax. Or place it on a tray in the oven at a low temp (I do around 170°) and carefully pour the remaining wax into the trash.
That’s it—your guide to getting the most out of every burn.
Ready to try out your new skills? Shop All Candles